
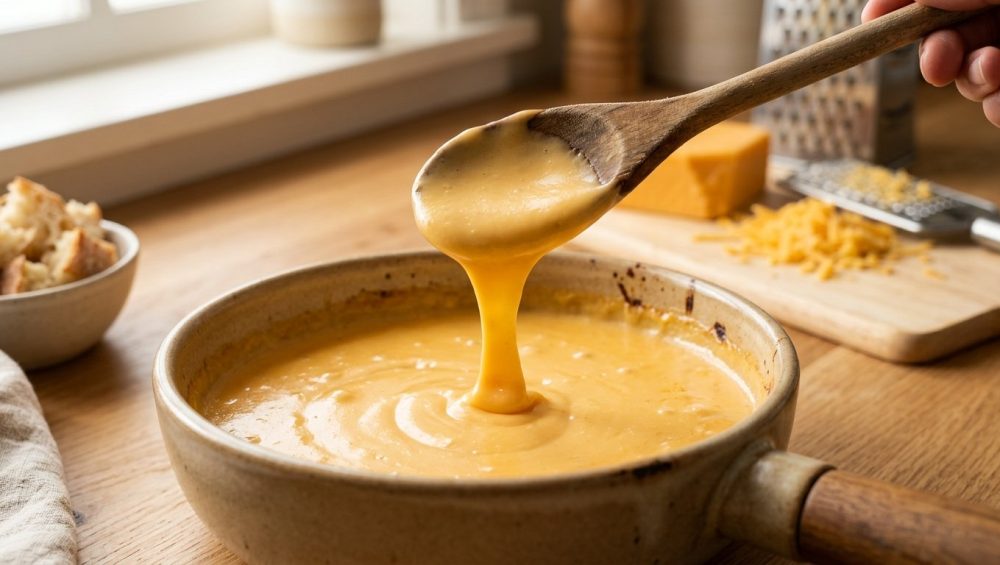
It is a Friday night. You have had a long week, you are craving comfort food, and you decide to whip up a luxurious, velvety pot of macaroni and cheese or a rich, bubbling queso dip. You shred your cheese, you toss it into the hot pan, you give it a hopeful stir, and then—tragedy strikes. Right before your eyes, your beautiful dairy dream separates into a horrifying, greasy oil slick floating on top of a gritty, rubbery sponge.
We have all been there. I have set off my smoke detector and ruined enough expensive Gruyère in my early cooking days to know the unique heartbreak of a broken emulsion. But here is the truth that pretentious culinary school graduates do not want you to know: you do not need a degree to fix this. You just need to understand a little bit of basic kitchen science. When your cheese sauce gets grainy and oily, it is not because the universe hates you. It is because you violated the laws of thermodynamics and chemistry.
As a home cook who violently oscillates between needing a lightning-fast weeknight dinner and spending twelve hours on a weekend culinary project, I am here to tell you that perfectly smooth, glossy, stable melted cheese is entirely within your reach. Today, we are going to dive deep into the anatomy of cheese, the devastating effects of high heat, the absolute scam that is pre-shredded bagged cheese, and the foolproof methods you can use to force your cheese to behave. Pour yourself a glass of wine, grab your whisk, and let us get to work.
The Scientific Anatomy of Cheese
To understand why your cheese is throwing a temper tantrum in the pan, you have to understand what cheese actually is. I have zero patience for overly complicated chef-speak, but we are going to put on our lab coats for just a minute.
At its core, cheese is an emulsion. It is a finely balanced matrix of dairy fat, water, and proteins. The most important protein in this equation is called casein. In milk, casein proteins float around in little microscopic clusters called micelles. Picture these micelles as tiny bumper cars bouncing around in a liquid arena. What holds these bumper cars together? Calcium phosphate.
When cheesemakers add rennet and acid to milk, those calcium bonds tighten up, pulling the casein proteins together into a firm three-dimensional net. This protein net traps the dairy fat and the water (moisture) inside it, turning liquid milk into solid cheese.
So, when you are eating a block of sharp cheddar, you are essentially eating a tightly woven protein net filled with microscopic pockets of fat and water. The success of your melted cheese dish entirely depends on your ability to relax that protein net so the cheese flows, without breaking the net so completely that the fat and water escape.
The Two Horsemen of the Cheese Apocalypse
When you apply heat to cheese, you are playing a high-stakes game of thermal chicken. At around 90°F (32°C), the dairy fat trapped inside the protein net begins to soften and melt. This is why cheese left out on a summer day gets a little sweaty.
As you push the temperature higher, approaching 150°F (66°C) for a standard cheddar, the calcium bonds holding the casein proteins together begin to break apart. The protein net sags, loosens, and stretches. The fat, water, and protein flow together in a beautiful, harmonious, lava-like puddle. You have achieved the perfect melt.
But what happens if you blast the pan with high heat and rapidly push the temperature past the breaking point? You summon the two horsemen of the cheese apocalypse: oil pooling and protein coagulation.
Horseman One: The Grease Slick
If you heat cheese too quickly or too aggressively, the delicate emulsion shatters. The protein net violently tightens up (much like a steak shrinking and toughening when thrown on a hot grill). When the protein matrix tightens, it literally wrings itself out like a wet sponge. The liquid dairy fat is violently expelled from the structure, rising to the top of your pan to form a depressing, neon-orange grease slick.
Horseman Two: The Grainy Clumps
Once the protein has squeezed out all of its protective fat and moisture, the casein molecules are left stranded. They panic and desperately bond to one another, forming tight, rubbery, microscopic curds. This is the gritty, grainy texture you feel in your mouth. You cannot simply stir this back together; once the proteins have coagulated into tight little knots, no amount of aggressive whisking is going to force the fat back inside them.
The Pre-Shredded Conspiracy
I firmly believe that time is money, especially on a Tuesday evening when you are trying to feed a family before soccer practice. I am the biggest advocate for clever kitchen shortcuts. However, there is one “convenience” item I absolutely despise, and I will shout it from the rooftops until the end of time: pre-shredded cheese in plastic bags.
If you want to know why pre-shredded bags ruin a perfect melt, you only need to flip the package over and read the ingredient list. You will inevitably see additives like powdered cellulose, potato starch, and natamycin.
Cellulose is an insoluble plant fiber, often derived from wood pulp. It is entirely safe to eat, but it is added to pre-shredded cheese as an anti-caking agent. It absorbs ambient moisture in the bag to prevent the individual shreds of cheese from clumping together into a giant brick while sitting on the supermarket shelf.
While cellulose does its job perfectly in the bag, it becomes your worst enemy in the saucepan. Because cellulose is designed to resist moisture and prevent sticking, it actively prevents the cheese shreds from melting back together into a cohesive sauce. Instead of a smooth emulsion, the cellulose acts as a physical barrier, leaving you with a sauce that feels strangely dry, thick, and powdery on the palate.
If you want a flawless cheese sauce, you must buy a block of real cheese and shred it yourself. It takes exactly sixty seconds. Use a standard box grater, or if you are breaking down a massive block for a weekend party, toss it into a food processor with the grating attachment. If you are dealing with softer cheeses that are difficult to grate, invest in a high-quality wire slicer to portion it cleanly without crumbling. Whatever you do, step away from the cellulose-coated bags.
The “No-Go” Rule on Toxic Cookware
We need to have a serious talk about your pots and pans. I have a strict “no-go” rule when it comes to cheap, toxic kitchenware. If you are trying to melt a delicate cheese emulsion in a scratched, peeling, ten-dollar non-stick saucepan that you bought at a discount store five years ago, you are actively sabotaging your dinner.
Cheap, thin pans made from mystery metals are notorious for terrible heat distribution. They create massive “hot spots” directly over the burner flame. While the edges of your pan might be lukewarm, the center is blasting at 300°F. When your cheese hits that hot spot, the proteins instantly seize, the fat separates, and your sauce is ruined before you even had a chance to whisk it. Furthermore, those peeling chemical coatings are leaching toxic flakes into your food, which is absolutely unacceptable.
You do not need a kitchen full of copper, but you do need safe, reliable, heavy-bottomed cookware. Fully clad stainless steel or enameled cast iron are your best friends here. They possess the thermal mass required to absorb the heat from your stove and distribute it gently and evenly across the entire cooking surface.
For sauces specifically, I highly recommend upgrading to a curved saucier pan. Unlike a traditional saucepan with sharp 90-degree internal angles where cheese can get trapped and scorch, a saucier has a gently sloped, rounded bottom. This allows your whisk to glide seamlessly across every square inch of the pan, ensuring nothing sticks, burns, or separates.
The Masterclass Fixes: How to Build a Bulletproof Emulsion
Now that we have eliminated the bad habits—high heat, cellulose-coated cheese, and toxic hot-spot pans—it is time to talk about the solutions. How do we force cheese to melt beautifully every single time? You have four scientifically proven methods at your disposal.
Method 1: The Starch Barrier (The Traditional Fix)
The oldest trick in the culinary book for stabilizing melted cheese is the use of starches. This is the foundation of the classic French Mornay sauce, which starts with a roux (equal parts butter and flour cooked together) before adding milk to create a béchamel, and finally whisking in the cheese.
How does it work? When starches (like flour or cornstarch) are introduced to the party, they swell up and physically coat the casein proteins. Think of the starch molecules as microscopic bouncers stepping between the cheese proteins. Because the proteins are coated in starch, they cannot link arms and coagulate into clumps, even if the temperature gets a little too high.
If you are making a quick stovetop mac and cheese or a fondue and you do not want to make a full roux, you can simply toss your freshly grated cheese in a tablespoon of cornstarch before adding it to your warm liquid. The cornstarch will instantly thicken the water and coat the proteins, providing a massive safety net against separation.
Method 2: The Evaporated Milk Hack (The Weeknight Hero)
If you are exhausted after a long workday and want the creamiest possible sauce with zero effort, you need to rely on the magic of evaporated milk.
Evaporated milk is simply milk that has had about 60% of its water content removed. What remains is a highly concentrated liquid packed with dairy proteins (casein and whey) and lactose, but without the massive amount of water that can thin out a sauce.
When you heat evaporated milk and whisk in your grated cheese, those extra concentrated milk proteins act as a powerful buffer. They mingle with the cheese proteins, reinforcing the emulsion and keeping the fat suspended perfectly. This method requires no flour, no butter, and no roux. It is incredibly fast, naturally gluten-free, and yields a glossy, intensely cheesy sauce that reheats beautifully without breaking.
Method 3: The Acid Treatment (The Fondue Secret)
Have you ever wondered why traditional Swiss fondue recipes always call for a generous splash of dry white wine or a squeeze of lemon juice? It is not just for the flavor profile. It is pure chemistry.
White wine and lemon juice contain tartaric and citric acids. When these acids are introduced to melting cheese, they perform a neat little chemical trick: they bind to the calcium that is holding the casein proteins together. By stealing the calcium away, the acid loosens the protein net. The casein molecules become relaxed and flexible, rather than tightly wound and prone to clumping.
If you are melting a notoriously stringy cheese like Gruyère or Emmental, introducing a splash of acidic wine is the absolute best way to guarantee a perfectly smooth cheese night. Just remember to cook off the raw alcohol flavor before dumping in your cheese!
Method 4: Sodium Citrate (The Modernist Magic Trick)
If you are a weekend culinary perfectionist who wants to achieve absolute god-tier, restaurant-quality queso, you need to buy a jar of food-grade sodium citrate.
Sodium citrate (which delightfully shares the chemical formula Na3C6H5O7—yes, it literally spells “NaCHO”) is the sodium salt of citric acid. It was originally used in 1914 as an anticoagulant for blood transfusions, but in 1916, a man named James L. Kraft patented its use in cheese making. It is the secret ingredient that gives processed American cheese and Velveeta their supernatural melting abilities.
But here is the beauty of being a home cook: you can buy pure sodium citrate powder online and use it to turn any high-quality, aged, artisanal cheese into a flawless liquid.
When you dissolve a small amount of sodium citrate into water (or beer, or milk) and whisk in your grated cheese, the sodium citrate completely sequesters the calcium ions in the cheese. It entirely dismantles the protein cross-links. The casein proteins break down into highly effective emulsifiers that wrap around the fat droplets. The result is a sauce that is impossibly smooth, glossy, and stable. It will not break, it will not pool oil, and it can be cooled into a block and remelted perfectly the next day.
Troubleshooting Your Specific Kitchen Disasters
Even with the right science in your back pocket, specific dishes have their own unique pitfalls. Let us troubleshoot the three most common cheese disasters you will face in your kitchen.
The Stovetop Pasta Catastrophe
You are making a quick pan sauce for pasta. You drain the noodles, leave them in the hot pan, dump in a mountain of grated Parmesan, and stir. Instantly, the cheese seizes into a giant, waxy, greasy ball that clings to your wooden spoon while the noodles remain completely bare.
What went wrong? The ambient heat of the dry pan was too high, and there was no protective moisture to form an emulsion. The fix here relies on the magic of starchy water. Before you drain your pasta, scoop out a mug of the boiling, cloudy pasta water. This water is packed with starch released by the noodles.
Take your pan off the direct heat entirely. Add a splash of that starchy water to the noodles, then gradually sprinkle in your finely grated cheese while tossing vigorously. The residual heat of the pasta will gently melt the cheese, while the starches in the water will coat the proteins and bind the fat into a luxurious, creamy coating. This technique is non-negotiable if you are hosting a mindful macaroni bar for guests.
The Nacho Dip Nightmare
You are making a spicy queso dip for game day. You have it simmering on the stove, it looks great, but you leave it on the burner while you chop some jalapeños. When you turn back around, it is a broken, oily mess.
When a dip or cheese sauce breaks while simmering, it is almost always a victim of prolonged heat exposure. Even if you used a starch binder, leaving cheese over a direct flame for too long will eventually cause the proteins to tighten and expel their fat.
The golden rule of cheese sauces: the cheese is the very last thing to go into the pot, and the pot must be removed from the heat source before the cheese goes in. Heat your milk, wine, or broth to a gentle simmer. Turn the burner completely off. Add your grated cheese in small handfuls, whisking continuously until smooth. The residual heat of the liquid is more than enough to melt the cheese perfectly without pushing it past its breaking point.
Emergency Triage: How to Rescue a Broken Sauce
Okay, let us say you ignored my advice. You got distracted, you left the burner on high, and now you are staring down into a pot of oily, clumpy despair. Is it destined for the garbage bin? Not necessarily. If the proteins have not coagulated into completely impenetrable rubber bullets, you might be able to perform an emergency rescue.
Step 1: Get it off the heat. Immediately remove the pan from the hot stove. Further heat will only tighten the proteins more.
Step 2: Drop the temperature. Add a splash of ice-cold milk or heavy cream to the pan. This rapid introduction of cold liquid will immediately halt the cooking process and stop the proteins from tightening any further.
Step 3: Introduce mechanical force. Grab your whisk and beat the sauce as if it insulted your mother. You need aggressive mechanical agitation to force the expelled fat droplets back into the liquid matrix.
Step 4: The Nuclear Option. If whisking is not working, grab your immersion blender. The high-speed spinning blades will shear the fat droplets into microscopic sizes, forcing them back into a temporary emulsion with the water and proteins. It might not have the silky perfection of a sauce made correctly from the start, but it will be thoroughly edible and perfectly delicious.
And a final pro-tip from your favorite sassy sous-chef: when you inevitably spill some of that molten cheese on your countertop during this frantic rescue mission, do not ruin your expensive kitchen sponges trying to scrub it off. Let it cool and harden, then use a stainless steel bench scraper to easily pop the dried cheese right off the counter.
The Final Word on the Melt
Cooking is not magic; it is just edible physics. You do not need to be a Michelin-starred chef to make a flawless pot of creamy, velvety cheese sauce. You just need to respect the ingredients.
Ditch the toxic pans that ruin your heat control. Stop giving your hard-earned money to corporations selling you wood-pulp-coated shredded cheese in plastic bags. Take the extra sixty seconds to grate a high-quality block of cheddar. Respect the temperature limits of dairy proteins, utilize starches or sodium citrate to your advantage, and always, always take the pot off the heat before you stir in the good stuff.
You are now officially armed with the culinary science required to conquer any macaroni, fondue, or queso recipe on the planet. Now get out of here, go grate some cheese, and make something spectacular tonight. You have got this.






